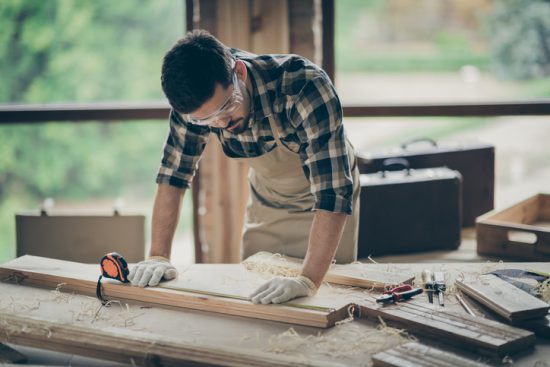
If you’re passionate about working with your hands and turning your love of the woodworking craft into a career, you might want to consider becoming a cabinet maker. Through a cabinet making program, you’ll learn how to select the right type of wood, design and plan the layout of cabinets, read blueprints, utilize woodworking machines, and perform different procedures and techniques relevant to cabinetry.
Once you launch your career, you’ll use the skills you’ve built in order to create custom cabinetry for the clients you work with. While the possibilities for creating custom cabinetry are endless, there are a few basic building principles which will be helpful to follow. Below, discover an introductory guide to the art of custom cabinetry.
After Cabinet Making School, Start by Making a Plan for Your Cabinets
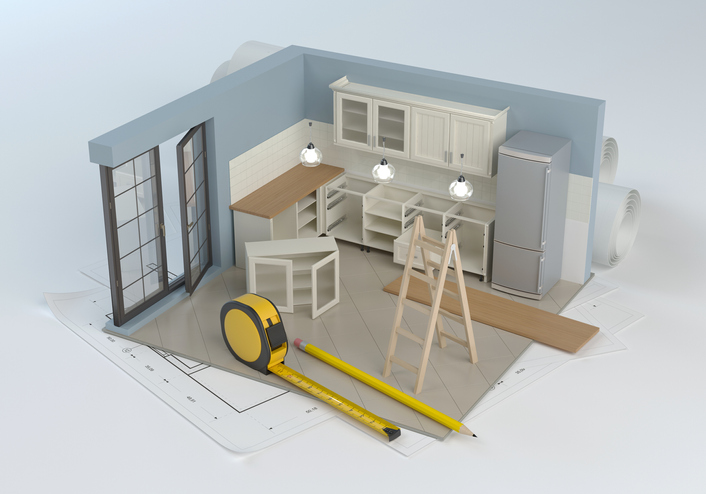
The first step of custom cabinetry is the planning and design process. In this stage, you’ll want to pick the wood you want to use for the cabinets–a decision which may be based on a client’s request. Next, you’ll want to conduct a thorough inspection of the area where you’ll be installing the cabinets, measuring the space where the cabinets will go in order to obtain the right dimensions for your design. With your dimensions in hand, you can move on to designing the type of cabinets you want to create–using blueprints to plan out your designs. As a professional with cabinet making training, planning out the dimensions, materials and specifications of your cabinets before beginning the building process will help you to avoid mistakes and work more efficiently.
Building Cabinet Frames
After planning your custom cabinet design, you can move on to building the cabinet frames–including the side and front frame. With your side frames cut to the right dimensions, you can use a table saw to cut a “dado” A dado is a groove which enables one piece of wood to connect to another and into the sides of the cabinet. Then, you can put the sides together using both a finish nailer and wood glue to secure them to each other. Here, it’s helpful to use a framing square–a device that lets you know whether the cabinet sides have been placed together squarely. Next, you can build the front–or face frame–of the cabinet. Typically, you’ll want to save your selected wood material for this piece, using plywood for the hidden sides of the cabinet. Once the face frame has been cut, you can drill holes in it, attaching it to the rest of the frame with pocket screws and wood glue.

Putting on the Finishing Touches
While attending cabinet making school, it’s important to note that no custom cabinet making process is complete without putting in some finishing touches before installing the cabinets. First, you’ll want to refine the appearance of the cabinets you’ve built by performing some light sanding on the surface of the cabinets. Next, you’ll want to stain or paint the surface area of the cabinets in order to obtain the right appearance. Lastly, when it comes to installation, you can use carefully selected hinges to attach cabinet doors, and use drawer tracks and rails in order to install cabinet drawers. Once everything is working properly, your custom cabinet installation is complete!
Are you ready to begin cabinet making courses?
Get started with a program at the North American Trade Schools!