Considering Home Renovation Training? A Guide to Interior Painting
September 14, 2021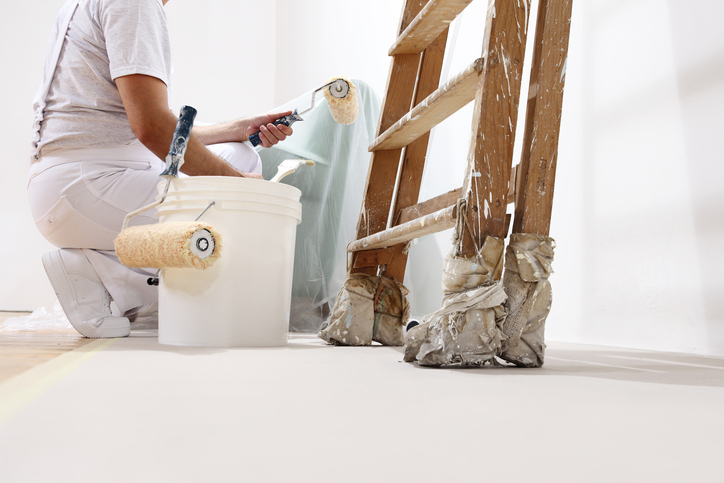
Interior painting might seem simple at first. After all, it’s just putting paint on walls, right? However, as many home renovation professionals and DIY painters already know, there are many factors to consider for achieving a successful interior paint job. If you’re considering a career as a home renovation technician, having a solid understanding of the interior painting process, in addition to knowing a few important tips and tricks will help you to improve the quality of your interior painting job.
Below you’ll discover a guide to painting home interiors – helping you tackle any such project with confidence and ease!
The First Step Professionals With Home Renovation Training Take: Assessment and Prep
Rather than jumping right into painting, there are a few important preliminary steps that every professional with home renovation training will want to take. The first is to assess the condition of the walls themselves. Are there imperfections, holes, or spots of unevenness? If that’s the case, it’s important to sand the walls first using an abrasive paper. Removing rough spots and patches of drywall compound will ensure that the paint goes on evenly, and also makes it easier to apply a new coat of paint.
After sanding, you’ll also want to look closely at the existing paint and the type of walls to determine which primer to use. Primer should always be applied before coloured paint, as it ensures that the colour of the paint will be as vibrant as possible, removing the possibility of dark spots or areas of thin application. If you’re painting paneled walls, you’ll want to use an oil-based primer – but if the walls are drywall, a water-based primer will do a great job of masking any blemishes.
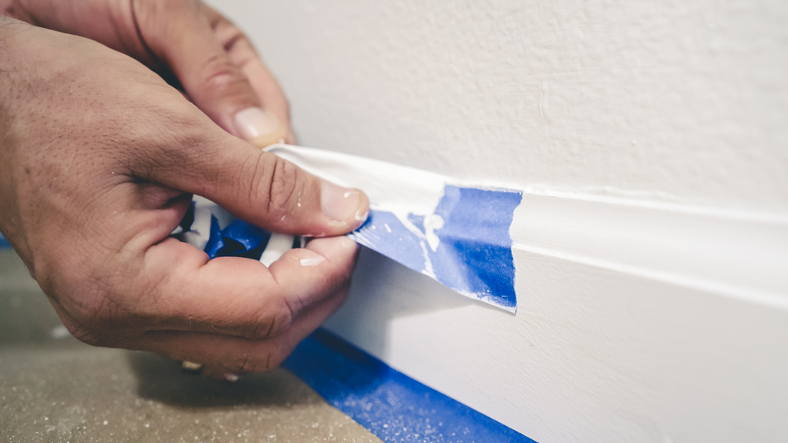
Next, you can tape the trim using painter’s tape. One trick is to use a putty knife to press the tape down, as this will prevent any bleeds from occurring. Lastly, you’ll want to cover the surrounding furniture and floors with canvas cloth, as the use of canvas prevents the possibility of leakages. Once you’ve completed these steps, you’re ready to start painting!
Painting the Interior Walls
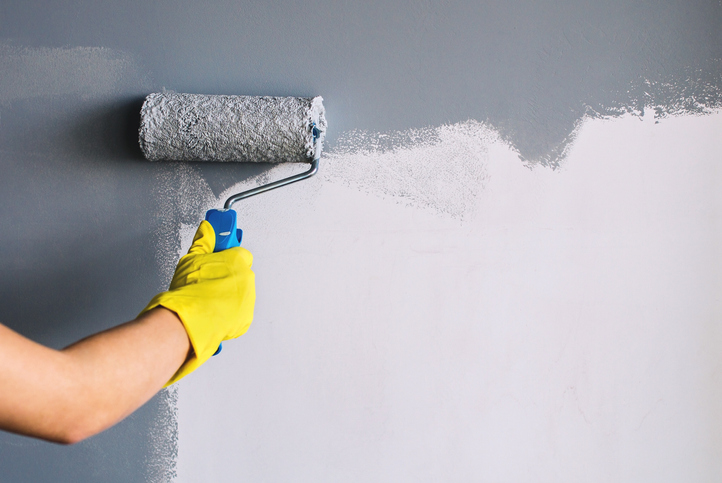
After you become a home renovation technician, there are a few things to keep in mind when it comes to applying the first layer of interior paint. You’ll want to make sure that you’re using the right painting materials, including a paint roller and a smaller paintbrush to fill in the edges. When using a roller, it’s important to avoid roller lap marks, which can be done by applying the paint in overlapping strokes. Make sure to paint the entire wall completely, as lap marks are more likely to appear when paint is applied over dry paint. Lastly, remember to apply two coats of paint to the walls, as this helps ensure that the paint appears even and consistent in colour.
Finishing Touches and Clean Up
Once the paint has been thoroughly applied to the interior, it’s time to think about finishing touches and clean up. After the paint is dry, you can examine your work to determine whether there are any imperfections. These will be likely to appear in the corners and areas of trim, and are typically fixable with primer or another layer of paint. When it comes to fixing imperfections, a smaller brush can be used to carefully target the area in question. Once complete, you can begin carefully removing the painter’s tape from the trim, and storing the canvas cloths for future projects.
When you follow this guide, you’ll be ready to succeed in any interior painting project. After launching your career as a home renovation technician, remember these helpful tips!
Ready to launch a rewarding career by training at a home renovation school?
Get the skills you need to succeed with a program at the North American Trade Schools.